Tips on how to clean water-soluble and oil-based paintbrush

Tips on how to clean water-soluble and oil-based paintbrush

Don’t be deceived by some write-ups that claim to be authentic.  You might have come across some information online about cleaning a paintbrush.  Please agree that the paintbrush cannot be maintained and cleaned the same way.  The way one will clean a paintbrush used on water-soluble paint is different from the strategies used to clean a paintbrush used on oil-based paint.  I just mentioned two different things.  

So, this write-up aims at putting you through the process of cleaning water-soluble and oil-based paintbrushes.  Please pay attention and shun all distractions.  But before we proceed, I would like to talk about the meaning of paintbrush.

What is a paintbrush?

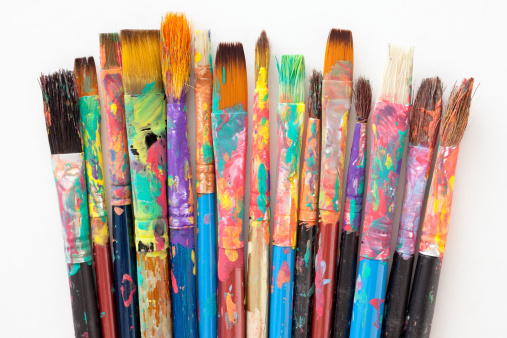
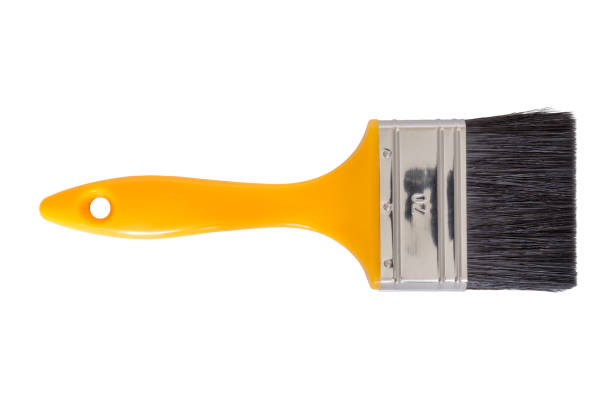
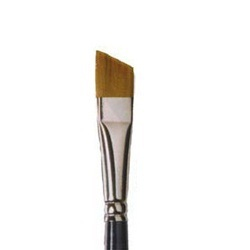
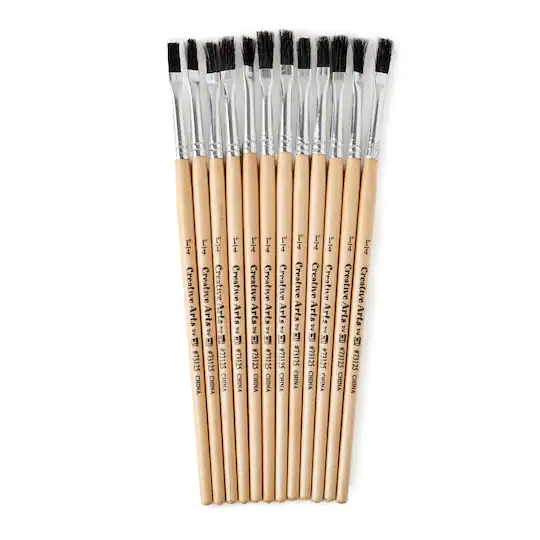
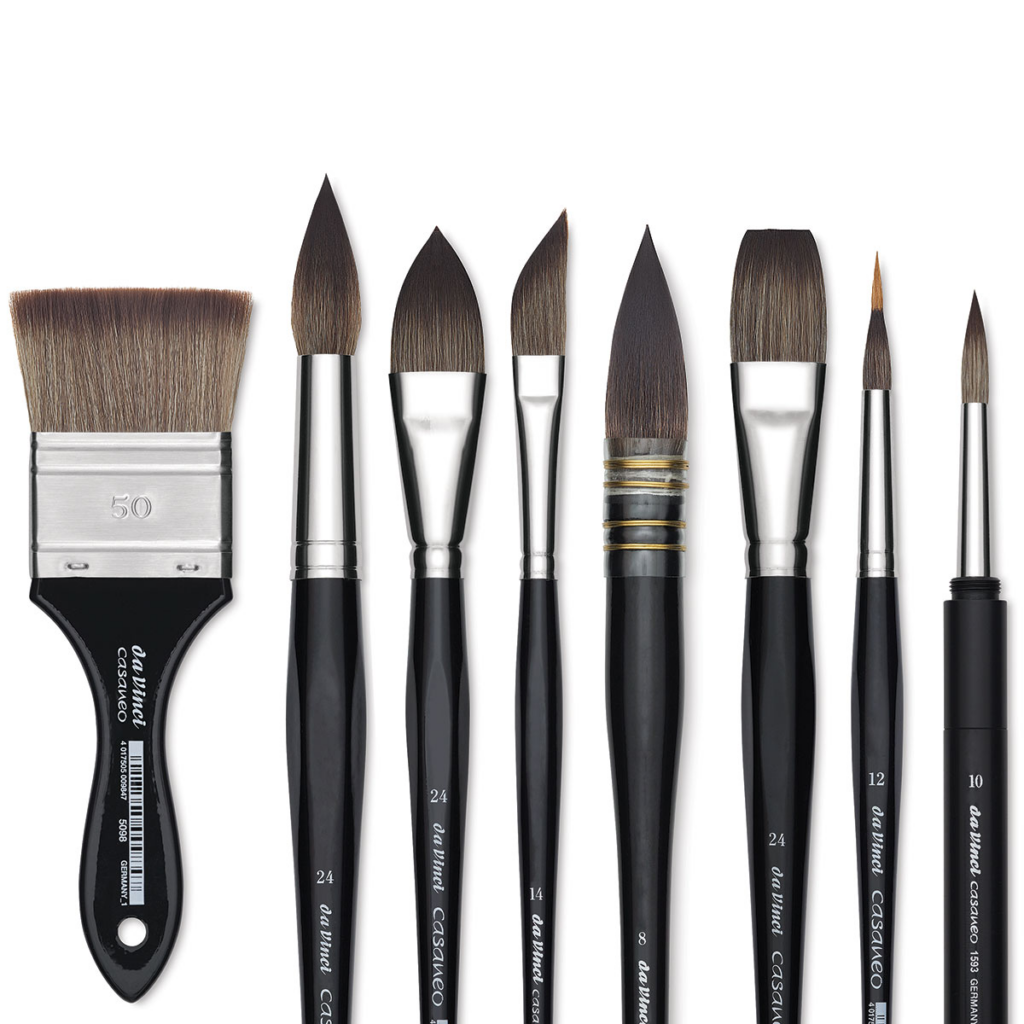
A paintbrush is a unique tool or an instrument that enhances creative painting work.  In the world of art, no one can successfully create an outstanding artwork without using a paintbrush.  In the simplest form, a paintbrush is a tool or a brush for applying paint.  It is an essential tool that enables users to make edits to an image.  Some painters used to call it “a rod behind creativity.” If you see an artwork that captivates your heart, this tool plays a vital role in bringing out the beauty of such artwork.  In other words, an artwork cannot stand without this helpful instrument.  If you want to learn watercolor paintings, this tool is one of the most critical instruments you will need.  In short, the paintbrush is the key behind every creativity you see in watercolor paintings. You can read more about Paint Brush by clicking here.

Tips on how to clean a water-soluble paintbrush

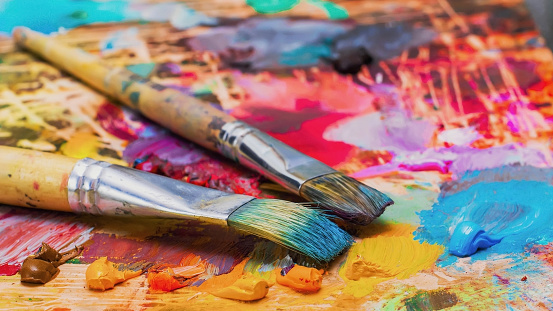
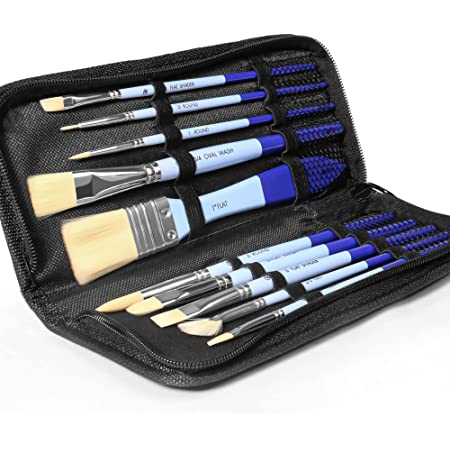
If you use watercolor paints for a project, there’s a need to clean up all the materials used.  A paintbrush is an essential tool, as we have discussed above.  And it needs proper maintenance if one does not want to spend money on getting new ones per project.  So, if you want your paintbrush to remain intact for the next project, please follow the steps below to clean it. 

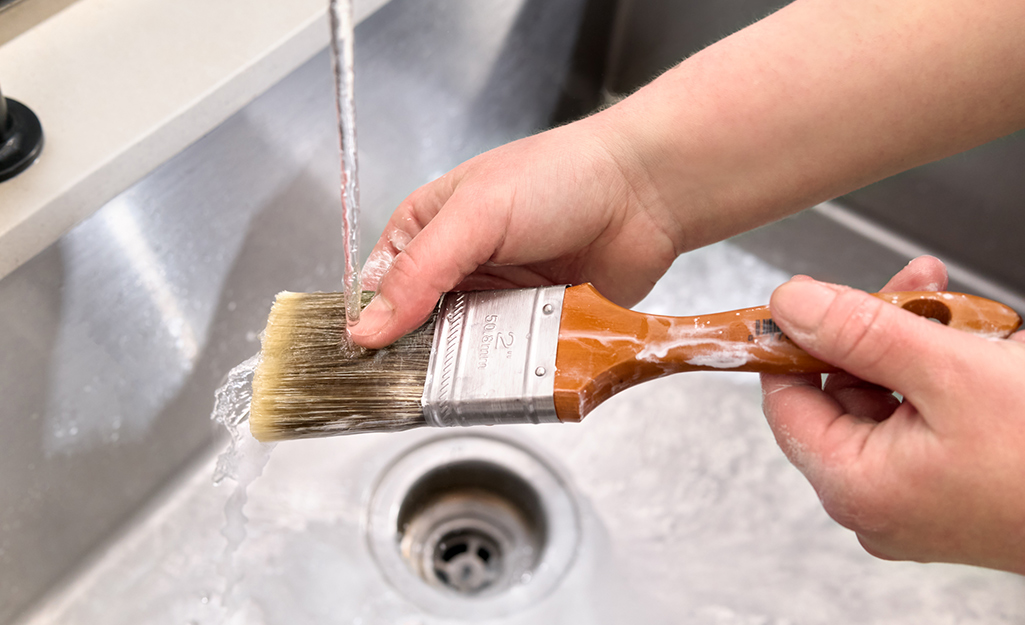
  • Wipe off the paint stain on your brush: You need to ensure that your brushes are not with the stain or paint after the project.  You can use a piece of cloth to clean up the bristle so that it will be easier when you want to do the proper cleaning.  This first step is essential.  So, after this step, what next? 
  • Get a regular dish detergent: A regular dish detergent will do the cleaning perfectly.  Please note that not all detergents can remove the stain or the dirt on your paintbrush.  So, get a regular dish detergent and start the cleaning process.
  • The cleaning process: Mix the detergent in warm water.  If you use cold water, you tend to wipe off the bristle when the cleaning process is on.  Therefore, use warm water.  Place the brush on a surface, then rinse it with warm water.  Don’t forget that you need to force the bristles to splay.  One can use a sponge that has a light scrubbing surface.  Let me repeat that you must rinse it very well.  After washing it, you need to give it some time so that the bristles will dry.

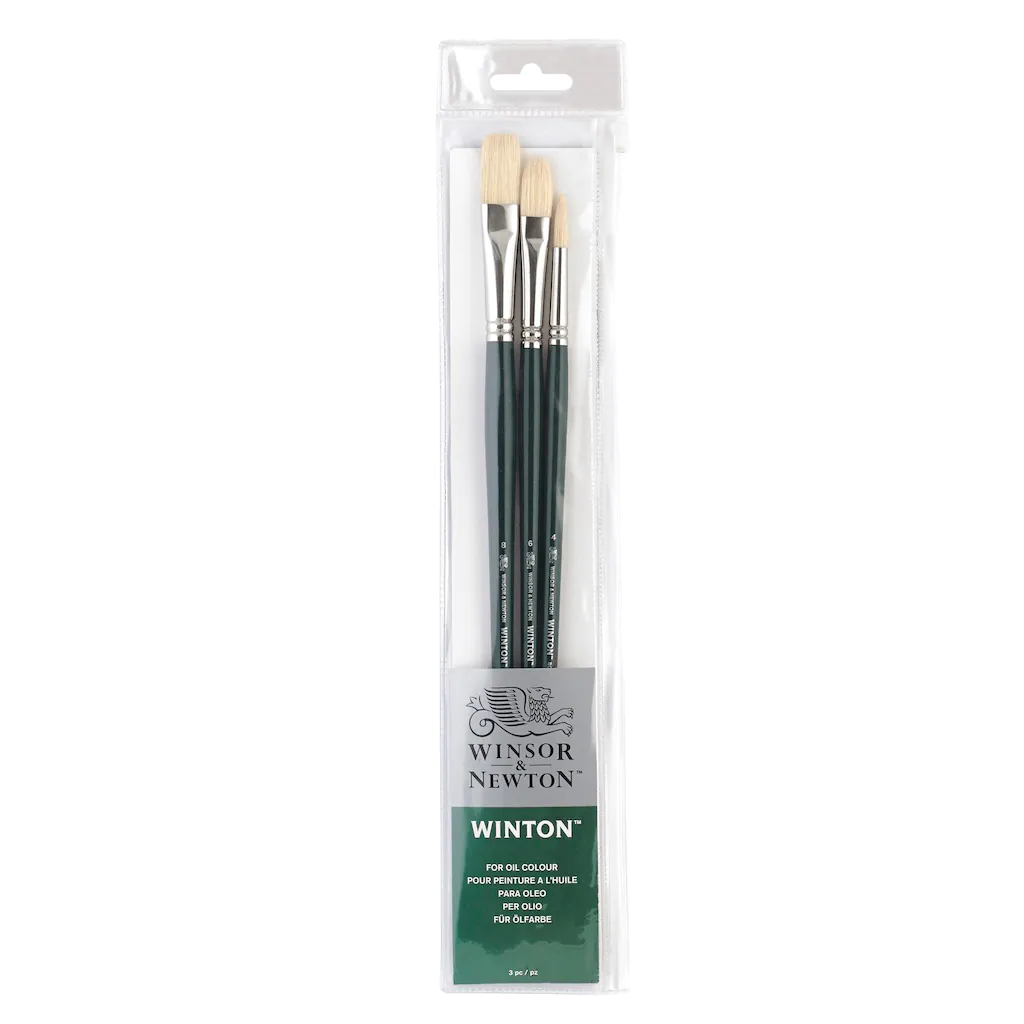
Tips on how to clean an oil-based paintbrush

I said earlier that there are different approaches to cleaning a paintbrush.  Using water and a dish detergent to wash a paintbrush applied with water-soluble paint cannot work in cleaning a paintbrush with an oil-based paint.  Therefore, don’t assume that you can use the same process or style to maintain and clean an oil-based brush. 

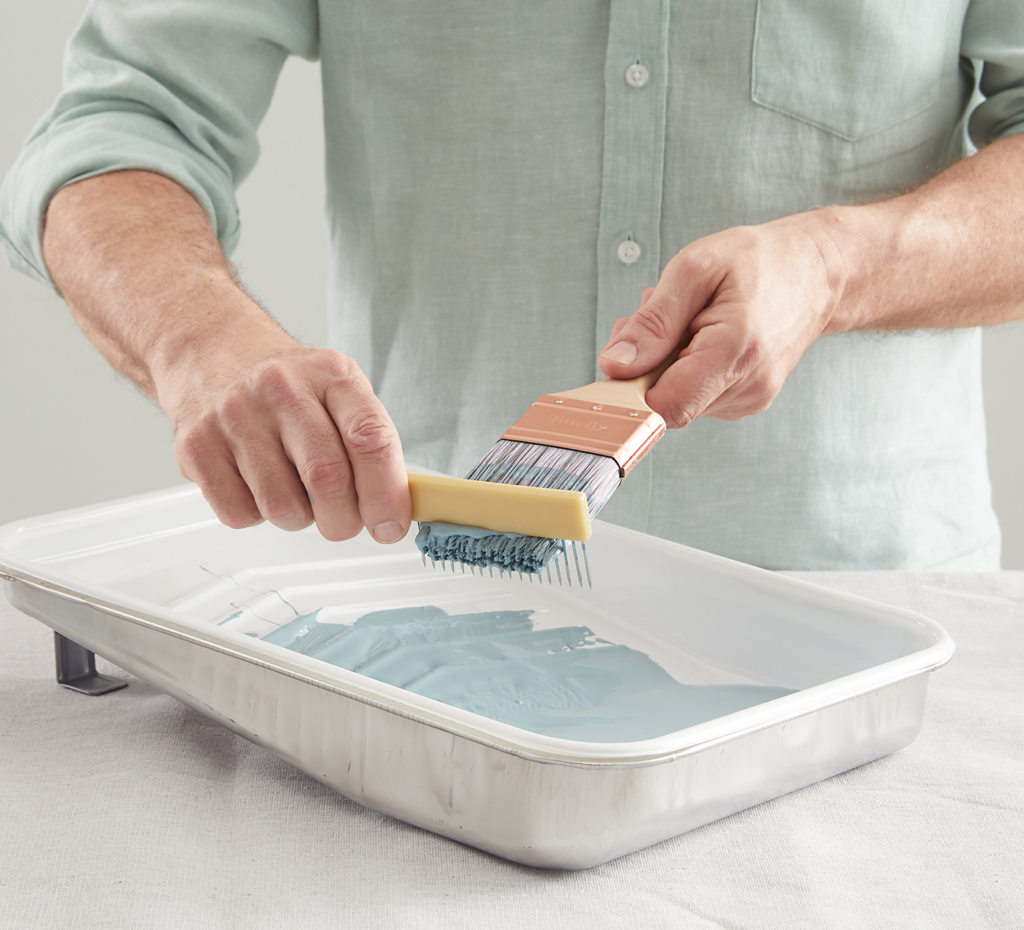
If you’re using oil-based paint, spin the brush in a cup of paint solvent or lacquer thinner for thirty seconds, then rub the paintbrush on the side of the cup.  One may likely have to repeat this procedure a few times until one doesn’t see any stain coming from the brush.  Then, there’s a need to do the last wash with detergent and water.  Also, shake the brush out, allow it to dry, and store it in the cover it came in.

Shake the paintbrush a few times to bring into line the bristles and hang to dry so that air can mix with the bristles.  This helps the brush to dry rapidly and appropriately.  Once it dries, store this tool in the cover they came in so that the bristles remain flat and endangered.  Keep the cardboard covers with which costlier brushes are sold and put them back on for storage.  You will get many services from a good brush if adequately cared for.  Taking the time to clean and store them appropriately is significant to their permanency.  I hope you’re following.    

What are the risks of not washing a paintbrush after using it?

If you don’t wash your brush after a project, you may spend some of your income getting another brush.  For instance, if you just finished the artwork and decide not to wash your brush, the brush will get dry.  And once the brush gets dry, it can’t be helpful for another project again.

Also, if you don’t wash your brushes after a project, you will have to buy another set of paintbrushes for another project.  Therefore, it is expedient for you to know that washing your brush after a project is essential.  You can read about 5 Ways Arts Projects Can Improve Struggling Communities by visiting https://www.pps.org/article/artsprojects

On a final note

Dear reader, I hope you’ve seen something instructive here.  Cleaning your brushes is essential.  And I explained that cleaning this tool depends on the types of paint used for a project.  I have already explained the tips you should follow in cleaning your brush.  Therefore, no one can blame you if you act ignorantly.  But now that you understand how cleaning a paintbrush works, it is wrong to act as though you are not aware.  This article also covers the risk of not washing a paintbrush.  In other words, I explained why you need to maintain and clean your brush.  Remember, you are not to wash your brushes alone; it is expedient to wash other art materials that need proper cleaning and maintenance.  Finally, a question might come to your mind while reading this article.  at the end of my article, we recommend for you Bondi Arts & Craft Supplies an Australian arts & craft company for the high-quality painting tools for the best experience, please kindly drop your question in the comment box for further information.

The Do’s and Don’ts of a Paint Brush

The Do's and Don'ts of a Paint Brush

When using the painter’s paintbrush, there are rules of the game to get your imagination out. Aside from excellent output, you also want to maintain the efficiency of your paintbrush for a long time to come. This article addresses the dos and don’ts to keep its best shapes. In addition, it helps you when making a decision to buy paintbrushes since you have an excellent user culture. 

At the same time, by looking after your paintbrushes, you can make them last a bit longer. By implication, you can get a tremendous value out of the investment you make in them. Remember that good brushes can be expensive, so you should take good care of your paintbrush. Following the list of do’s and don’ts below is an excellent place to start cultivating a good culture of paint brush maintenance, especially as an artist in Australia. 

Let us begin with the don’ts of a paintbrush

Don’ts of a Paint Brush

  1. Don’t allow the paint to dry up on your paint brush 

One of the worst habits that a painter or artist can have is always allowing paints to dry up during the brushes. If you use acrylic paints mainly, you should be conscious that they quickly dry up. Therefore, be aware of this fact and ensure you clean them up quickly when you are done painting. 

Even while in use, acrylic paints can quickly dry up on paintbrushes because the outer layer starts drying first. While working, the ferrule begins to dry up before you finish your painting. The ferrule is the part of the brush that connects the bristles to the brush’s handle. If you allow the paint to dry up on the ferrule, it stops the flexibility of the hairs on the next stroke. 

  1. Don’t put excess paint on the brush

Many newbie artists think that they can save time and make bolder strokes by overloading the paintbrush. But the reverse is the case when it comes to the effect on your paintbrush. Avoid the temptation of filling up your entire bristles for any of the reasons above. When you overload a paintbrush, the ferrule must have started drying up before you exhaust the chunk of paint on it. You can read about the best and most-useful paint brushes by clicking here.

In practical terms, an overloaded brush with paint will usually cover up your ferrule. And the color starts drying up from there even before your finish the work. Once the paint dries up on the paintbrush, removing them and separating the ferrule from the bristles becomes difficult. The dry paint builds up at this point until the painting becomes less flexible with this brush. 

  1. Don’t leave your paintbrush in water overnight

After a long day’s job, many painters decide to soak their paint brushes in water over the night. This habit is also a terrible one. In actual fact, even leaving your paintbrush for too many hours can also spoil the tool. One simple harm is that it gives the brush an L-shape over time and affects your strokes. If an artist does not adequately take care of the paintbrush, the new shape may become permanent. 

On the other hand, you may even forget it there but know that leaving paint brushes bent overnight is terrible. When they hurt the brushes, they may not recover. Even if you have not finished the piece you are working on, it may be a great habit to avoid that from happening. At the same time, you can buy paintbrushes from reputable stores where your value is maintained. 

Do’s of a Paint Brush

  1. Always clean your paintbrush after use

One fundamental skill to learn is cleaning your paintbrush after use. Moreover, if you enjoy working with acrylic paints because they dry up quickly, it is for the same reason you should clean them quickly. When working with these paints, leaving them for only a few hours could leave dry stains on the ferrule and bristles. And it takes no small job to permanently get that off. 

The best advice is to get warm water to clean the paint brush immediately when using acrylic paints. Even if you use oil paints, you will need to rinse them in warm soapy water after the session to remove all the paints. After washing in warm water, you can use a rag to remove any excess dye. In addition, you may rinse them in turpentine and then wipe them with another clean rag.

  1. Use plastic tubes to transport your paint brushes

Plastic tubes are the surest ways to protect brushes from spoilt bristles. You can either get one plastic brush for each paint brush or group them in a few plastic tubes. The main essence of these tubes is that they can help transport your paintbrushes safely without spoiling the bristles. In some climes, canvas brush holders are also available for anyone to arrange brushes, roll them up and move them. 

  1. Salvage your Yucky paint brushes

If you discover that there are a few of your paintbrushes that you forgot to clean immediately, all hope may not be lost. The next thing to boil is the entire brush in a pot of vinegar. Give it some time before removing it, and wait till it cools off. When it does, comb the bristles gently until all the paint particles fall off. In the case of dry acrylic paint on your paint brush, you can remove it with denatured alcohol. Visit https://www.sciencedirect.com/science/article/abs/pii/S0079612318300013 to read about Culture and art: Importance of art practice, not aesthetics, to early human culture.

Conclusion

No matter the type of paint you are using and the cleaning agent you employ, you should first learn the proper habits with your paint brush. Also, you should be gentle with the way you scrub, mash, and spread paint with your paintbrush bristles. After all, you should treat your tools as mild as possible on the canvas. If you consistently apply a lot of pressure, you can distort the shape of your brush. And at times, these changes may be permanent. Even if you can rescue the paint brush, which may be expensive, you may not get a 100% restoration. 

The Best and Most-Useful Paint Brushes

The Best and Most-Useful Paint Brushes

People often like to learn from the best paint brushes by recommendation. At the same time, no one wants to buy a paint brush that will not last or mess up your artwork. Instead of guessing what type of paintbrush you should buy that will match what you want, we created a list of paintbrushes for each category for every artist’s needs. Let us dive in.

Flat Brush

The flat brush is for creating backgrounds since it can cover a large area without stress. It does not leave brush marks like the other smaller brushes. Artists can save a lot of time using flat brushes because they have coverage that suits their needs. If you plan on creating a theme or a background effect on your painting, you should choose a wider flat brush for large spaces. A medium-sized flat brush is also not wrong, depending on the scope. 

Angled Brush

The angled brush is the peculiar paintbrush for creating great lines, curves, and strokes or filling corners. Both decorators and painters must have felt what bent brushes can do when cutting into tight corners. At the same time, they can help you fill up large areas in the presence of flat brushes, which is the most ideal. One peculiar use of the angled brush steps from its narrow, one-sided tip that can penetrate small corners and edges. Visit https://bondiartsupplies.com/collections/brushes to read about the best paint brush for your painting.

Round Brush

The round brush has a rounded tip with varying hair dynamics. The hairs can either be short or long in length, but they are great for miniature area painting. Apart from applying to small areas, you can use round paintbrushes to create details, short strokes, and draw with a brush. 

Fan Brush

You have the best shot when you have a fan brush to create shades of different gradients with the same stroke. It is a versatile brush perfect for smoothing, feathering, and blending. This brush is excellent for creating textural effects like wood grain, fur, leaves on a tree, and even clouds. 

Get a Set of Fie Different Paint Brushes

An artist must value, whether as a beginner or a pro, the set of brushes is indispensable. There are countless features that the brush will help you achieve even after drawing up a sketch. One of the reasons I rarely buy a single brush is that the investment in a single brush can buy a complete set. And it doesn’t always mean the expensive paintbrush is more durable than the brushes in the pack. 

For instance, you can get different varieties of the same quality of paintbrushes in a single set. So, why trouble yourself with a single brush that cannot do all the job in a painting? You can use a big flat brush to begin the background painting half the time, but it still cannot finish the entire picture. You still have to get other types of brushes to make details, draw lines and curves and reach the edges. So, the more paint brushes you have, the more variety at your disposal.

By implication, you have more tools at your disposal for this job and the next. A typical set of five paintbrushes will include one large flat brush, two to three small brushes, an angled brush, and one fan brush. If we now further isolate some of the most efficient paint brushes ruling the industry, we will mention the following. 

Best Professional Paint Brush Sets

The Artify Professional Paint Brush Set

This set has a natural hog hair within its 15-membered set and the highest number of units per pack. The wooden handle is made of natural wood that gives the brushes a good feel. These brushes also have a rustic feel joined with a classic look. Whereas having a long handle ensures that they can work smoothly in terms of making a precision mark. On the other hand, the white copper ferrules ensure the bristles are held in shape during use. The ferrules are double crimped to ensure they don’t get loose while working, and it contains the basic shapes, including fan, round, and flat-tipped. You can read about What Do We Mean by Art, Artists, Culture, and Industry? by clicking here.

Winsor & Newton Winton Long Handle Brushes

The paintbrushes have a high quality of natural bristle from hog hairs. They are also known for their resilience and long handles that can prevent corrosion through the coating. Also, its bristles are hand set into ferrules that are firm enough for a secure hold. Each strand of hair is coarse, enhancing the shape even after heavy use. The pack comprises a fan tip brush, a round-tip brush, and three-flat brushes. It may not be filled up as the last pack, but it is also very usable. 

Charles Leonard Flat Tip Paint Brushes

When waiting on the suitability of the classroom painting projects, one may have to pick the pack of ten brushes of the Charles Leonard brand. They all come with flat-tipped bristles that are entirely fascinating for children to hold. Having a good grip on the flat stubby handle demands that the artist get the hairs to bend into the painting. They are also made from hog bristles of natural origin to maintain a good shape. One peculiar feature of this set of paintbrushes is ideal for children painters from three to five or even above. The handles are also coded with appropriate colors to help children recognize colors. 

Da Vinci Artist Paint Brush Set

The Da Vinci artist’s brush is a set of four paintbrushes with hog hair heads in assorted sizes from two to eight. It has a hand-shaped bristles interlock with a better pigment holding capacity. It is double oiled for the extra spring and endurance. At the same time, it has a nickel coating on the exterior that can resist rust and maintain the shape of the bristles for a long time to come. 

The Da Vinci brand is known for hair firmness within the ferrule without bending or assuming a different shape. Also, they are made and certified for green processes, making them have a pretty sustainable wooden handle. So, they are not just the artist’s favorite. They are also friendly to the environment.